

Welcome to my blog!
"A holistic approach to health considers not just the physical body but also the emotional, mental, and social aspects of our lives." - Dr. Andrew Weil
Custom Blogs
Butternut Squash Seeds (hack)
Getting Creative with Butternut Squash Seeds: A Zero-Waste Kitchen Hack
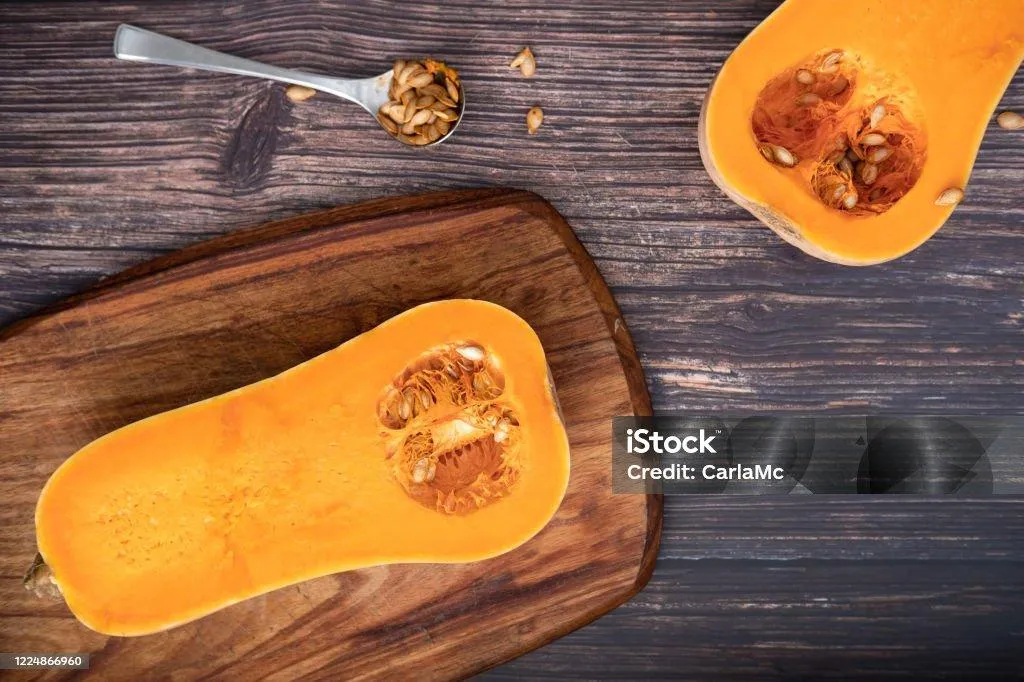
In the spirit of fully utilizing the bountiful butternut squash, don’t toss those seeds! With a little effort, you can transform them into a delicious snack or a crispy soup topping. Here’s how you can roast your own butternut squash seeds, bringing a delightful crunch and nutty flavor to your culinary creations, or even use them to start a new squash plant in your garden.
Roasting Butternut Squash Seeds
Here's what you'll need:
Fresh seeds from a butternut squash
Olive oil or melted butter (about 1 teaspoon per cup of seeds)
Salt (to taste)
Optional seasonings: garlic powder, paprika, or cinnamon
Instructions:
Clean the Seeds:
Start by removing the seeds from the squash. Place them in a colander and rinse under cold water while removing the stringy bits of squash flesh. This can be a bit messy, but it’s worth the effort!
Dry Them Thoroughly:
Pat the seeds dry with a towel. For an extra-dry seed that roasts perfectly, spread them on a baking sheet and pop them into the oven while it preheats to 300°F (150°C). This step ensures they’re completely dry.
Season and Prepare for Roasting:
Toss the dried seeds with a small amount of olive oil or melted butter, just enough to lightly coat them. Sprinkle with salt and any other seasonings you’d like to add. Spread the seeds in a single layer on a baking sheet.
Roast to Perfection:
Roast the seeds in the preheated oven for about 15-20 minutes, or until they are golden and crispy. Stir the seeds a couple of times during roasting to ensure even cooking.
Cool and Enjoy:
Let the seeds cool on the baking sheet before eating them as a snack or using them as a topping. They add a delightful crunch and nutty flavor to salads, soups, or simply eaten on their own.
Planting Butternut Squash Seeds
If you’re not in the mood for roasting, consider planting your butternut squash seeds. This is a great project for gardeners looking to grow their own produce.
Instructions:
Select and Prepare Seeds:
Choose full-sized, mature seeds from your butternut squash. Rinse and dry them as you would for roasting, but instead of seasoning, leave them plain.
Plant the Seeds:
Plant the seeds in a sunny, well-draining part of your garden. Squash plants love warmth and plenty of sunshine. You can start the seeds indoors in pots if it’s too early in the season, and transplant them outside once the risk of frost has passed.
Care for Your Squash Plants:
Water regularly, keeping the soil moist but not waterlogged. As the plants grow, they may benefit from a trellis or support to keep the sprawling vines off the ground.
Harvest and Enjoy:
In time, your plants will produce their own butternut squash. It’s a rewarding process that starts from the very seeds you might have otherwise thrown away!
By roasting or planting your butternut squash seeds, you’re not just making delicious use of every part of the vegetable, you’re also engaging in a sustainable practice that enhances your meals and your garden. Whether you’re a culinary enthusiast or a green-thumb gardener, these tips can help you make the most out of your autumn harvest.
Want more of my favorite recipe's??
Check out my Self Nourishing Cookbook
Disclaimer: Never disregard professional medical advice or delay in seeking it because of something you have read on this website. This post is not intended to be medical advice. It is for informational purposes only. If you are pregnant, nursing a baby, or have a chronic medical condition such as diabetes, hypertension or heart disease, be sure to consult your doctor or pharmacist before purchasing or taking any supplement.
